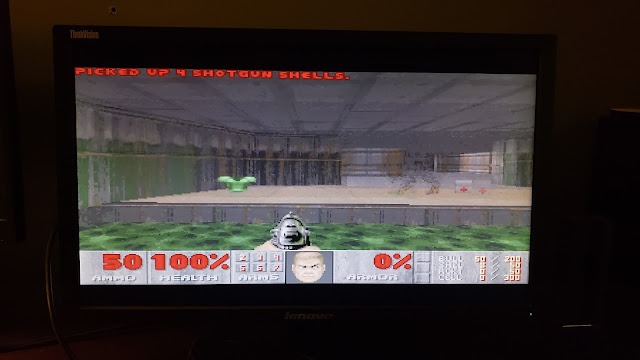
I love my old school games. No shock, spend any time here at all and you can see that. I enjoy a good retro-clone. Especially if someone puts a little spin on it as well. Well, that feeling extends to my computer gaming as well.
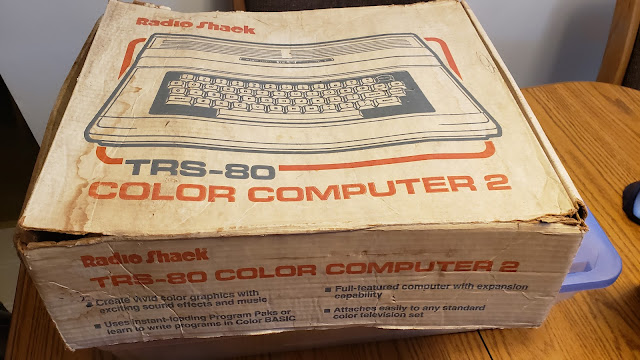
Brief history and many of you have read this before. I bought my first computer, with my own saved up money, back in 1985. It was a TRS-80 Color Computer 2 and I plugged it into a TV. It had 16k of RAM, and ran at about 900 Kilohertz. No disk drive. I had to save everything to cassette tapes. It did have color though and that to me made it better than the TRS-80 Model IIIs we had at school. In fact it was very much like this computer.
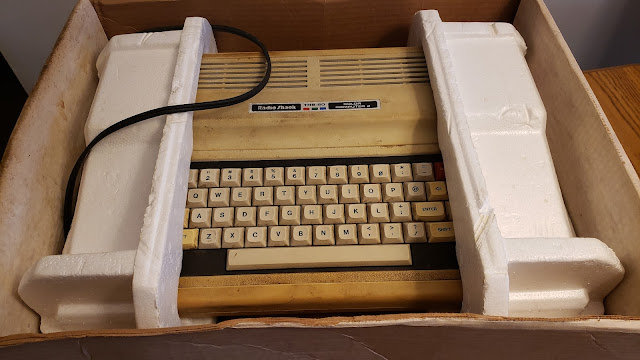
This particular computer was given to me by my brother. He got it from my old High School DM. We had the same computer, only his was 64k and had a floppy disk drive. I would upgrade to the Tandy Color Computer 3 with 128k of memory, running at a whopping 2 Megahertz and a floppy drive.
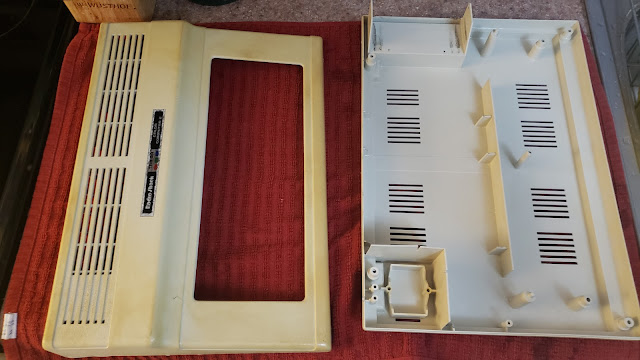
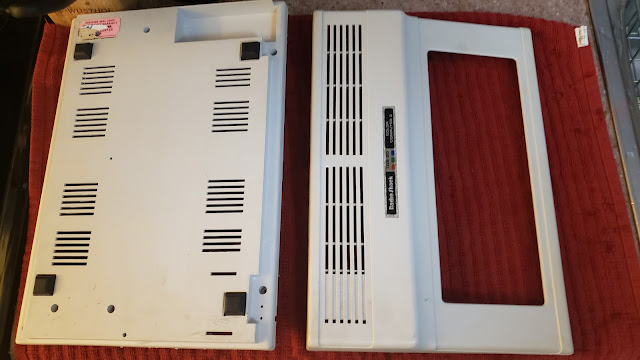
The computer above though was in sad, sad shape. In addition to a lot of yellowing it had, according to my brother who is an engineer, a broken pin on one of the epromms. He tried fixing it, but it was DOA.
So I decided to build my own Tandy Color Computer Retro-clone! But first I needed some supplies and that case needed work. A lot of work.
Step 1. Cleaning and Bleaching
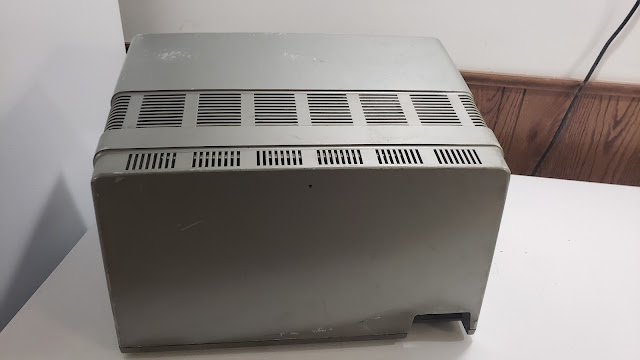
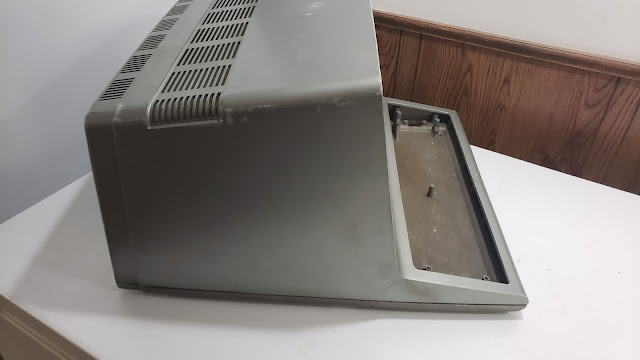
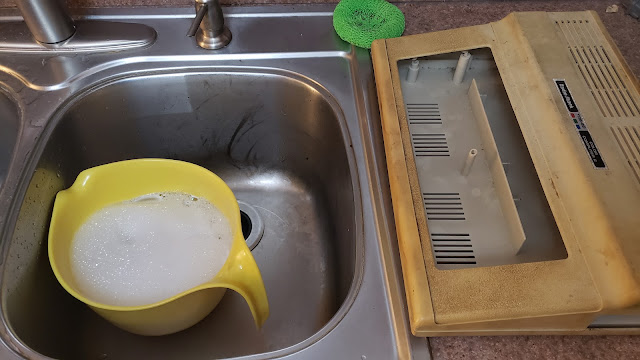
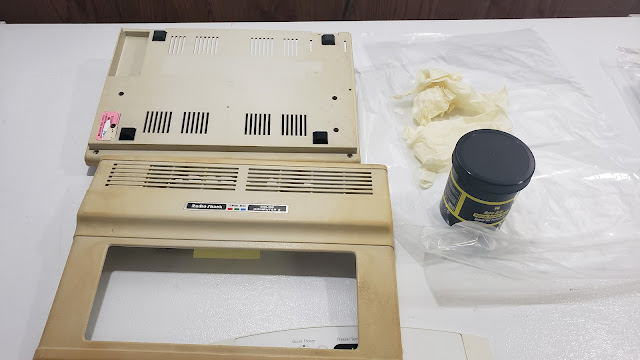
The case was a mess and the insides were not much better.
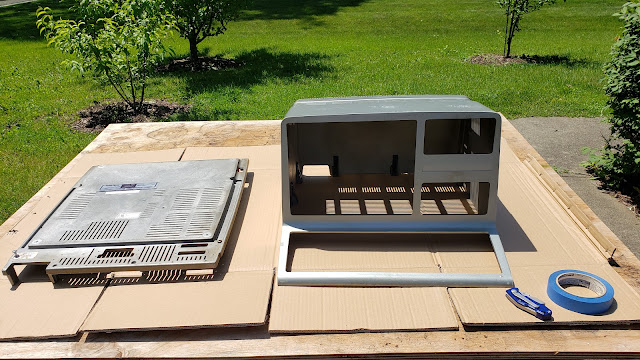
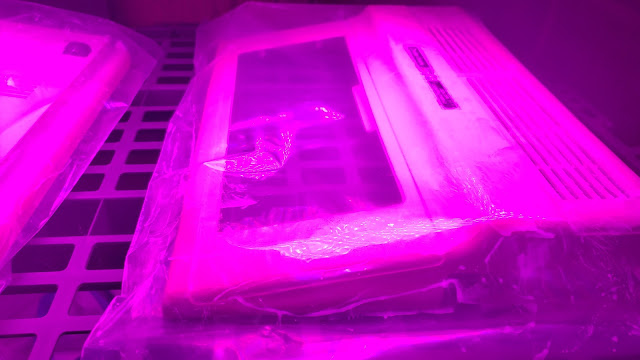
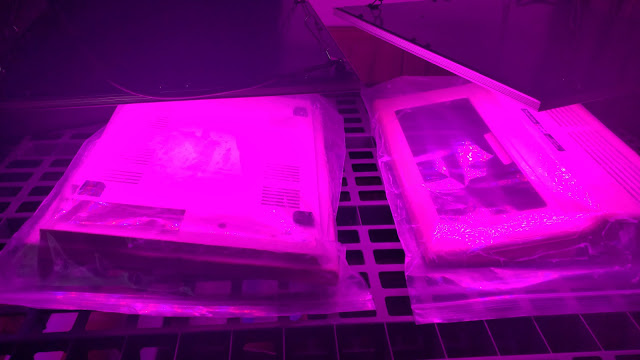
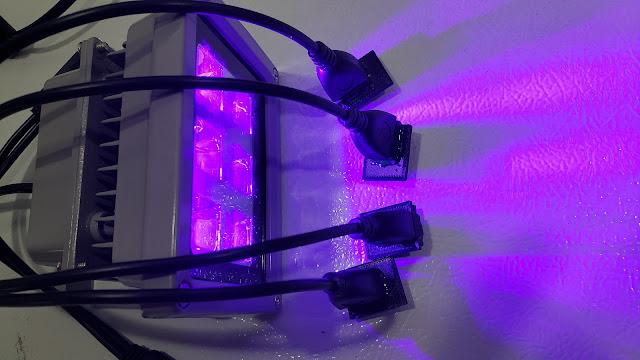
With some of the grime gone I got out some plastic restore bleach and set it all up under some UV light.
Honestly, I kept it under the light for about a week. But I can't argue with the results.
Part 2. Proof of Concept
While that was taking a bath in bleach and getting some fake sunlight I worked on my proof of concept. I had my youngest print out a mini Color Computer case for a Raspberry Pi B. I also began ordering everything I would need. Keyboard, USB cables, new case badges, HDMI cables, a USB 3 port, and of course a new Raspberry Pi 4.
While waiting on everything to come in I played around with my proof of concept computer.
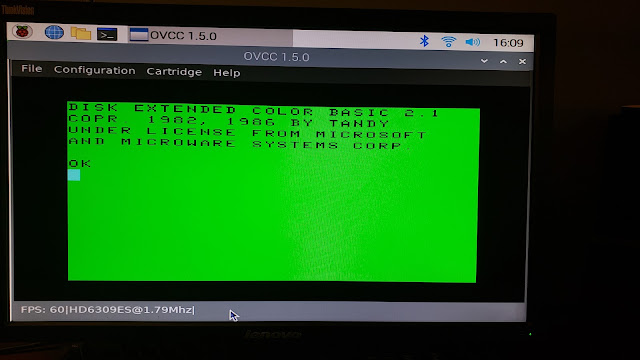
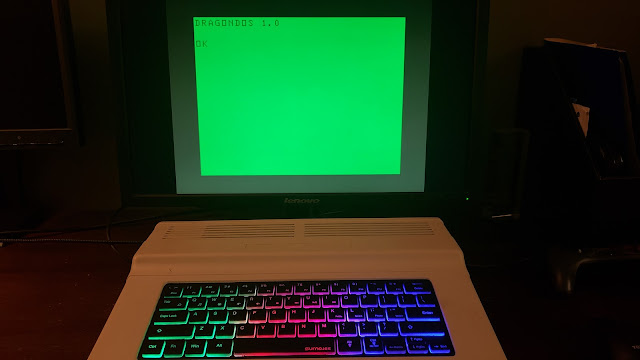
The CoCoPi emulator even allows me to switch out which classic CoCo processor I can use the MC 6309E or the MC 6809S (my preferred choice).
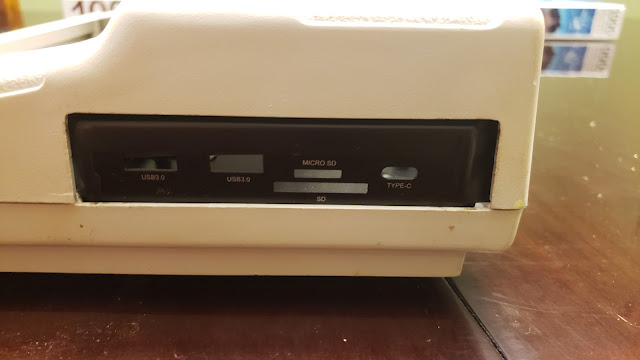
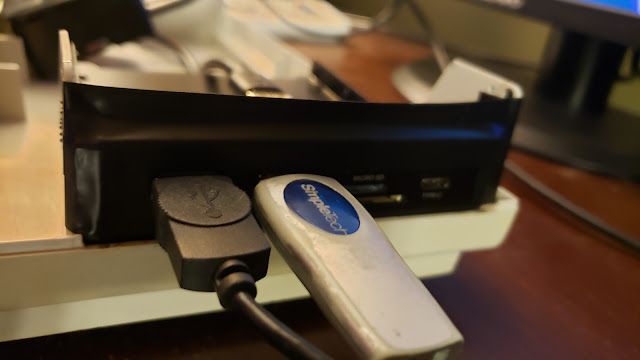
Got the keyboard and the USB 3 port so those also got tested with the Pi B. I was able to get the USB 3 port fitted into the old CoCo cartridge slot. So that was one thing out of the way.
I felt that bit came together rather well. The next part was a little more involved.
Part 3. The Miracles of 3D Printing
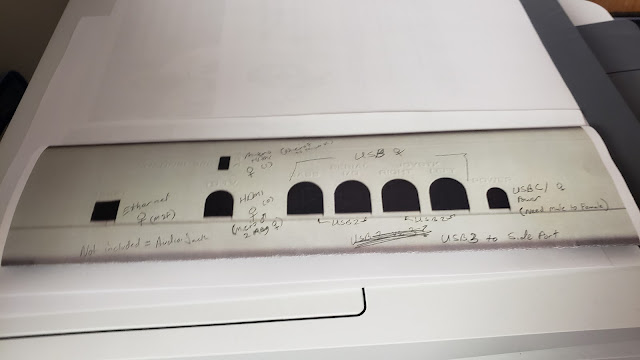
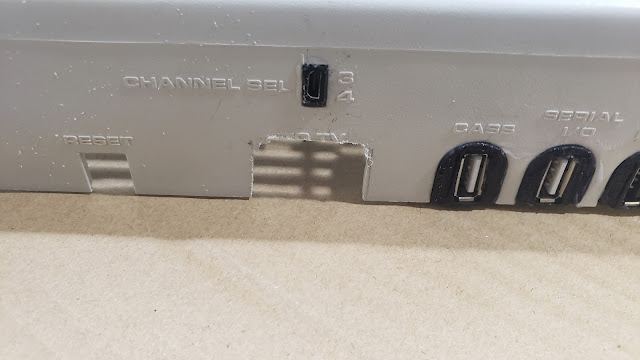
I needed to replace all the joystick, cassette, and serial ports with the 21st-century equivalent, USB. My plan was to route high power draw USB 3 to the side port and keep the back for USB 2. I also needed to replace the TV Out with HDMI. Unlike the Pi B, the Pi 4 has two HDMI ports, so I needed to work that out.
The keyboard is a great size, just a touch too small, and no way to get it into the case and have it stay in place. Plus I am hard on keyboards, so I needed to make sure it was sturdy. So the first task, 3D print a keyboard tray. This is FDM print. Our resin printer is acting up and the bed for it is way too small for this size print.
Not bad. Now to print the ports.
In addition to printing the ports that go in the back of the computer I got some new male-to-female cables for USB (with splitters), and micro HDMI. Since they were going to plugged in and out a lot I needed to be sure they were secure. So I also broke out the resin. Before fitting the new ports to the computer, I fit the new cables to the ports.
USB went in like a charm. Next the HDMI ports and power cable. Sadly though, I had to cut the case of the full-sized HDMI.
Though all took a bit to dry and cure. I was getting close now!
Part 4. Putting it all Together
I knew the hardest part was going to be getting all the cables in. It was easier than expected except the HDMI kept coming undone. Still not 100% happy with it. I had to abandon my plan to also have an ethernet port. It doesn't need it since it has built-in WiFi, but it would have been nice.
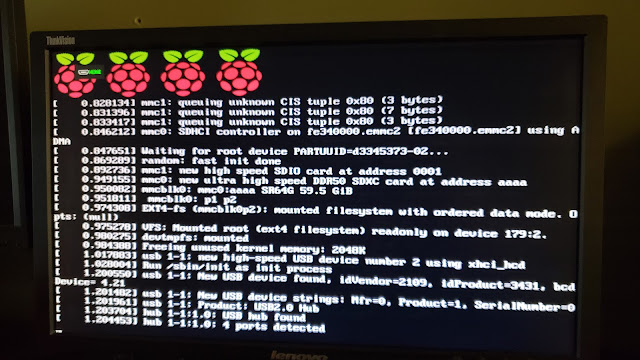
Cables stuffed into the case, case screwed back up, time to boot up!
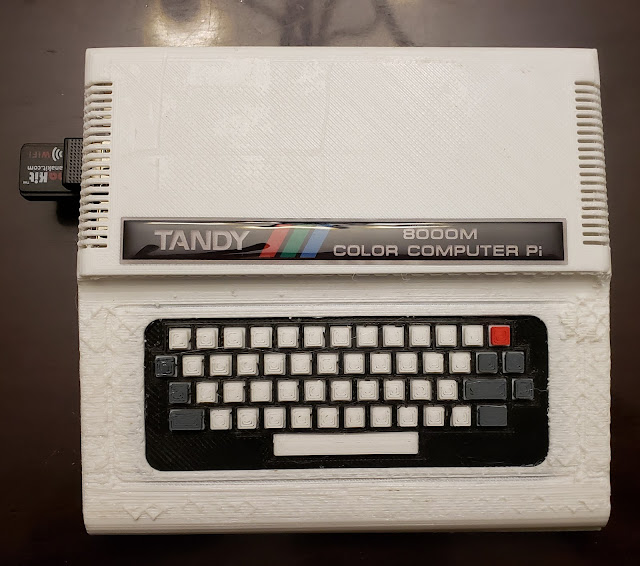
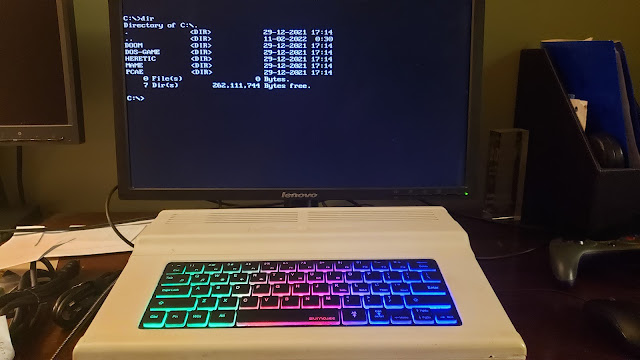
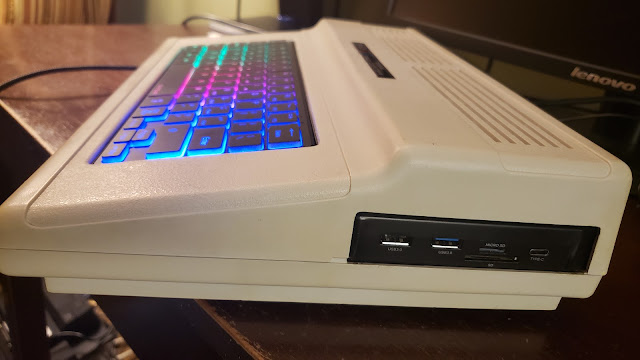
The keyboard lights up (it is a Color Computer after all!) and the DOS box and CoCo emulators work! With that time to put on the new case badge.
Grab some more emulators from my Pi B and fire up my new retro gaming machine!
The computer is running Raspbian which is a stripped-down version of Linux Debian for the Raspberry Pi. I prefer Ubuntu for my Linux, but this is working out fine.
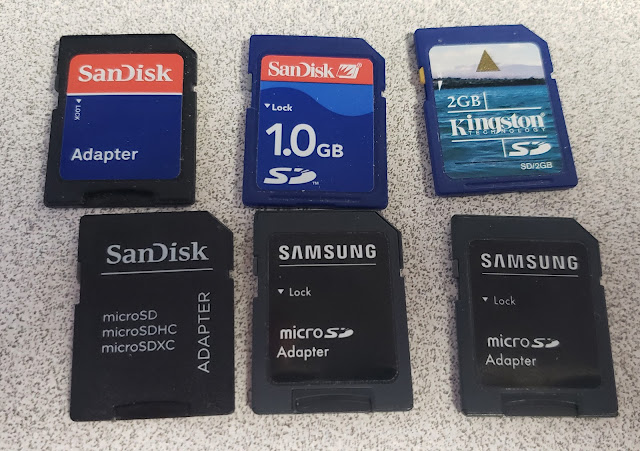
To match the spirit of the CoCo my side USB 3 port also has an SD Card reader. So I rummaged through the house to collect all the old SD cards we have laying around.
I'll load some programs on these and I'll be able to load software on the side of my CoCo just like the old days!
I spent a long time on this, and maybe way too much money. BUT now I want to do another one! I mean, I already have two, the proof of concept model with the Pi B and the full case with the Pi 4. There is a micro Windows computer out there that would fit into this case and there is another keyboard that also glows red, green, and blue (proper CoCo Colors) but it is white instead. Maybe I should wait though. I have always wanted to gut out a TRS-80 Model 4 and make that into my own version of the proposed, but never produced, Color Computer 4.
In the language of the OSR movement, this is retro-clone. It uses new mechanics/hardware to simulate/emulate an older experience. I am not running OS-9 (the OS for the Color Computer) and I am not sure I want to at this point. While the CoCo is my love, I also enjoy the ability to run an Atari 2600 emulator on it and DOS Box. So I guess my next step is to grab the Gold Box AD&D PC games and play them on this.
One last look at the before and after.
And After
I am very, very pleased with how it turned out.
Now to start trolling some auction sites for a TRS-80 Model 4 and figuring out what keyboard and monitor I can fit into that case. I already have some old external drives I could fit into it.

